The fully open source software stack of the Ubuntu Data Science Virtual Machine (DSVM) hosted on Azure is a great place to support an R workshop or laboratory session or R training. I record here the simple steps to set up a Linux Data Science Virtual Machine (in the main so I can remember how to do it each time). Workshop attendees will have their own laptop computers and can certainly install R themselves but with the Ubuntu Data Science Virtual Machine we have a shared and uniformly configured platform which avoids the traditional idiosyncrasies and frustrations that plague a large class installing software on multiple platforms themselves. Instead of speding the first trouble filled hour of a class setting up everyone’s computer we can use a local browser to access either Jupyter Notebooks or RStudio Server running on the DSVM.
Jupyter Notebooks on JupyterHub
We illustrate the session with both Jupyter Notebook supporting multiple users under JupyterHub and as a backup running RStudio Server (for those environments where a secure connection through https is not permitted). Both can be accessed via browsers. JupyterHub uses https (encrypted) which may be blocked by firewalls within organisations. In that case an RStudio Server over http is presented as a backup.
WARNING: Jupyter Notebook has been able to render my laptop computer (under both Linux and Windows, Firefox and IE) unusable after a period of extensive usage when the browser freezes and the machine becomes completely unresponsive.
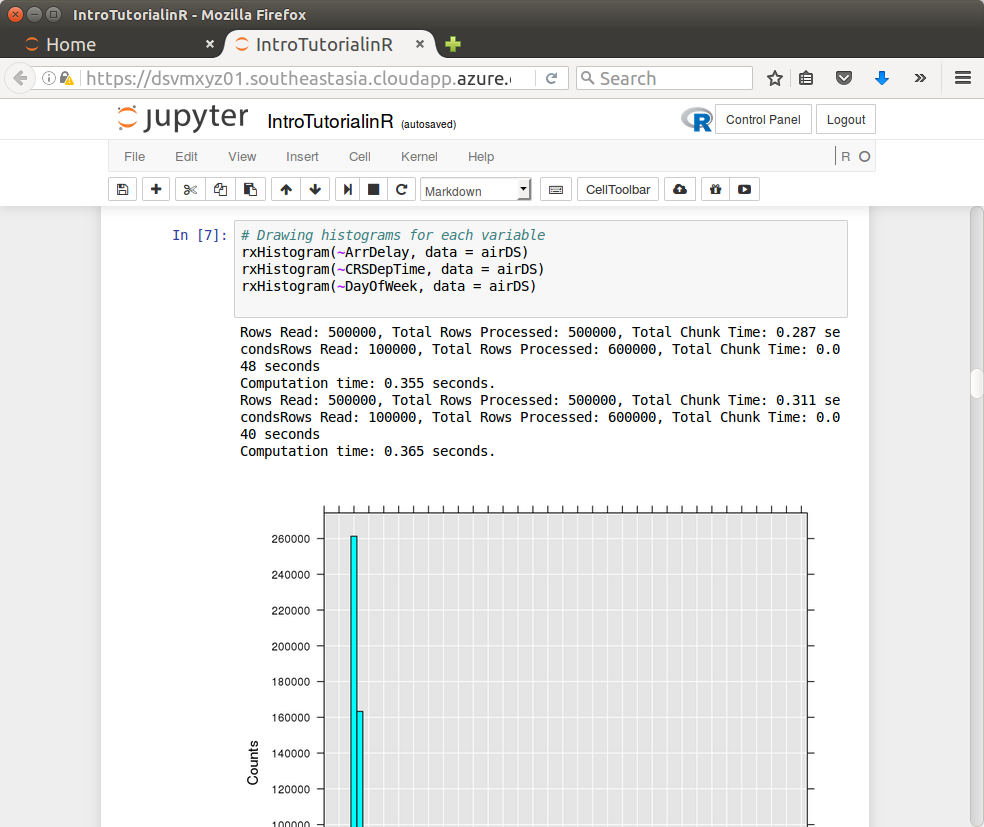
Jupyter Notebook provides a browser interface with basic literate programming capability. I’ve been a fan of literate programming since my early days as a programmer in the 1980’s when I first came across the concept from Donald Knuth. I now encourage literate data science and it is a delight to see others engaged is urging this approach to data science. Jupyter Notebooks are great for self paced learning intermixing a narrative with actual R code. The R code can be executed in place with results displayed in place as the student works through the material. Jupyter Notebooks are not such a great development environment though. Other environments excel there.
JupyterHub supports multiple users on the one platform, each with their own R/Jupyter process. The Linux Data Science Virtual Machine running on Azure provides these open source environments out of the box. Access to JupyterHub is through port 8000.
Getting Started – Create a Ubuntu Data Science Virtual Machine
To begin we need to deploy a Ubuntu Data Science Virtual Machine. See the first two steps on my blog post. A DS14 server (or D14_V2 for a SSD based server) having 16 cores and 112 GB of RAM seems a good size (about $40 per day).
We may want to add a disk for user home folders as they can sometimes get quite large during training. To do so follow the Azure instructions:
- In the Portal click in the virtual machine.
- Click on Disks and Attach New.
- Choose the Size. 1000GB is probably okay for a class of 100.
- Click OK (takes about 2 minutes).
- Now log in to the server through ssh:
ssh xyz@dsvmxyz01.southeastasia.cloudapp.azure.com
- The disk is visible as /dev/sdd
- $ dmesg | grep SCSI
- Format the disk
- $ sudo fdisk /dev/sdd
- Type
- n (new partition)
- p (primary)
- <enter> (1)
- <enter> (2048)
- <enter> (last sector)
- p (create partition)
- w (write partition)
- $ sudo mkfs -t ext4 /dev/sdd1
- Create a temporary mount point and mount
- $ sudo mkdir /mnt/tmp
- $ sudo mount /dev/sdd1 /mnt/tmp
- $ mount | grep /sdd1
- We will use this disk to mount as /home by default, so set that up
- Check how much disk is used for /home
- $ sudo du -sh /home
- Synchronise /home to the new disk
- $ sudo rsync -avzh /home/ /mnt/tmp/
- Identify the unique identifier for the disk
- $ sudo -i blkid | grep sdd1
- Tell the system to mount the new disk as /home
- $ sudo emacs /etc/fstab
- Add the following single line with the appropriate UUID
UUID=f395b783-31da-4916-a3a9-8fb56fd7a068 /home ext4 defaults,nofail,discard 1 2
- Now mount the new disk as /home
- $ sudo mount /home
- No longer need the temporary mount so unmount
- $ sudo umount /mnt/tmp
- Move to the new version of home and ensure ssh can access
- $ cd ~
- $ df -h .
- $ sudo restorecon -r /home
- Check how much disk is used for /home
Connecting to JupyterHub
If you set up a DNS name label dsvmxyz01 and the location is southeastasia then visit:
https://dsvmxyz01.southeastasia.cloudapp.azure.com:8000/
First time you connect to the site you will be presented with a warning from the browser that the connection is insecure. It is using a self signed certificate to assure the encryption between your browser and the server. That is fine though a little disconcerting. As the user you could simply click through to allow the connection and add an exception. This often involves clicking on Advanced and then Add Exception… and then Confirm Security Exception. It is safe to provide an exception for now. However, best to install a proper certificate!
Install a LetsEncrypt Certificate
We can instead install a free Let’s Encrypt certificate from letsencrypt to have a valid non-self-signed certificate. To do so we first need to allow connection through the https: port (443) through the Azure portal for the dsvm. Then log on to the server and do the following:
** TO BE UPDATED TO THE EQUIVALENT IN UBUNTU **
$ ssh xyz@dsvmxyz01.southeastasia.cloudapp.azure.com
$ sudo yum install epel-release
$ sudo yum install httpd mod_ssl python-certbot-apache
$ sudo emacs /etc/httpd/conf.d/ssl.conf
  Within the Virtual Host entry add
    ServerName xyz.southeastasia.cloudapp.azure.com
    # SSLProtocol all -SSLv2
    # SSLCipherSuite HIGH:MEDIUM:!aNULL:!MD5:!SEED:!IDEA
$ sudo systemctl restart httpd
$ sudo systemctl status httpd
$ sudo certbot --apache -d xyz@dsvmxyz01.southeastasia.cloudapp.azure.com
$ sudo systemctl start httpd
You should be able to connect now without the certificate warning.
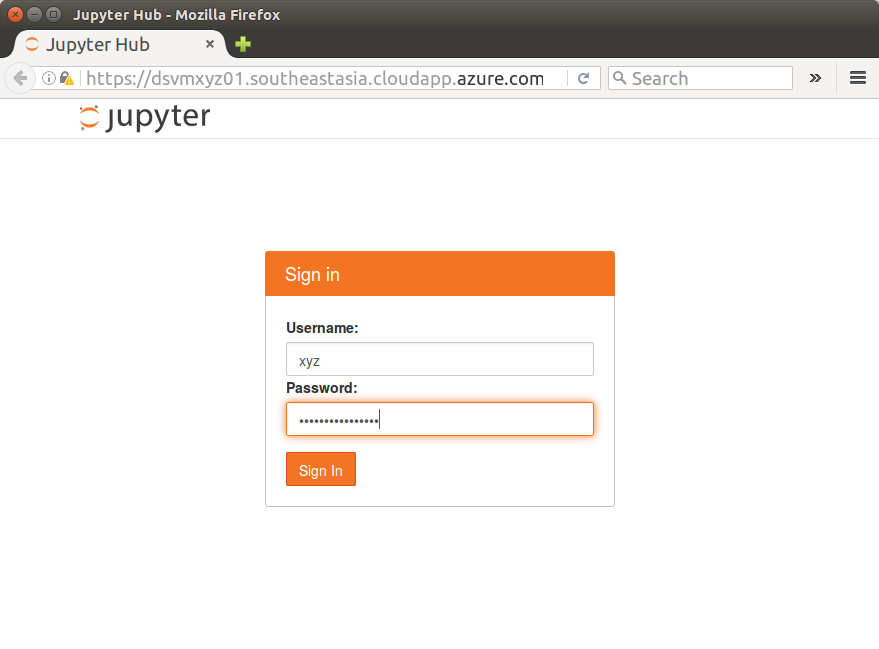
You are presented with a Jupyter Hub Sign in page.
Creating User Accounts
Log in to the server. This will depend on whether you set up a ssh-key or a username and password. We assume the latter for this post. On a terminal (or using Putty on Windows), connect as:
$ ssh xyz@dsvmxyz01.southeastasia.cloudapp.azure.com
You will be prompted for a password.
We can then create user accounts for each user in our workshop. The user accounts are created on the Linux DSVM. Here we create 40 user accounts and record their random usernames and passwords into the file usersinfo.csv on the server:
for i in {1..40}; do
  u=`openssl rand -hex 2`
  sudo adduser user$u --gecos "" --disabled-password
  p=`openssl rand -hex 5`
  echo "user$u:$p" | sudo chpasswd
  echo user$u:$p >> 'usersinfo.csv'
done
If the process has issues and you need to start the account creation again then delete the users:
for i in $(cut -d ":" -f1 usersinfo.csv); do
  sudo deluser --remove-home $i;
done

# Check it has been done

tail /etc/passwd
ls /home/
Provide a username/passwd to each participant of the workshop, one line only to each user. The file will begin something like:
userce81:d0dfac5a30
userd2ec:a4f142c342
user6309:0f13aeb27a
user0774:e334399343
Now go back to https://dsvmxyz01.southeastasia.cloudapp.azure.com:8000/ and Sign in with the Username userce81 and Password d0dfac5a30 (using the username and password from your own usersinfo.csv file.)
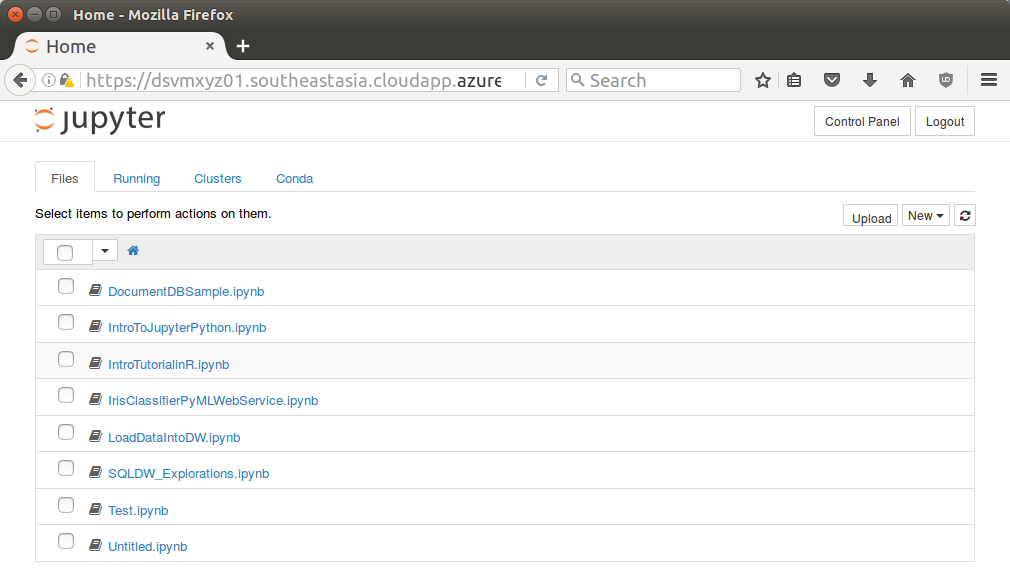
Once logged in Jupyter will display a file browser.
Notice a number of notebooks are available. Click the IntroTurorialInR.ipynb for a basic introduction to R.
Backup Option – RStudio
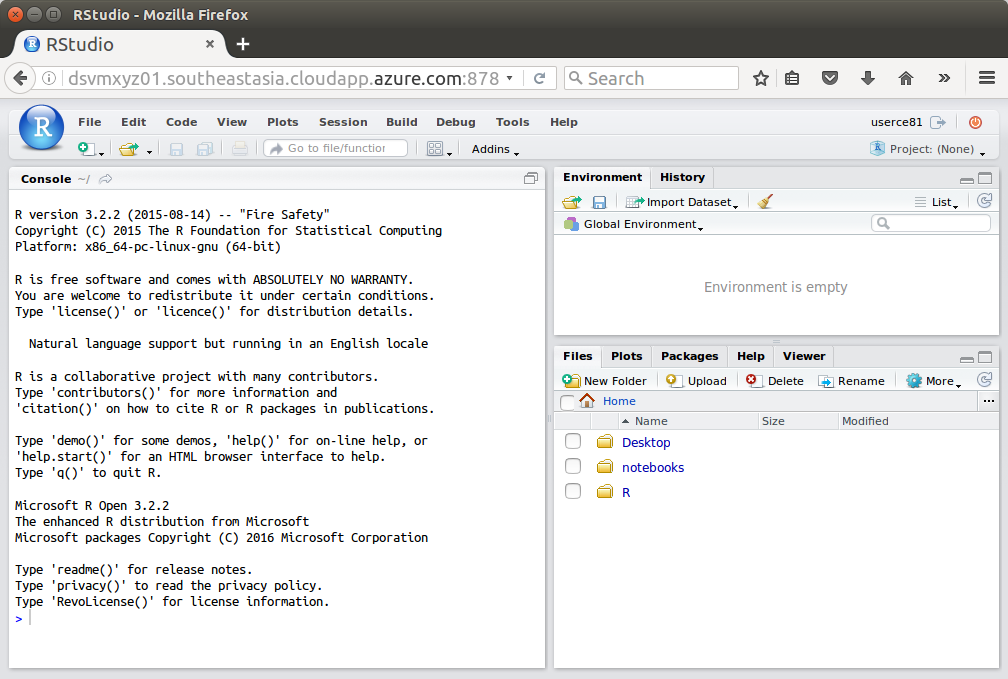
JupyterHub requires https and so won’t run internally within a customer site if they have a firewall blocking all SSL (encrypted) communications. In this case RStudio server is a backup option. It is pre-installed on the server and if you followed my instructions above for deploying a DSVM you will hav updated to the latest version too.
Connect to the RStudio server:
http://dsvmxyz01.southeastasia.cloudapp.azure.com:8787
Sign in to RStudio with the same Username and Password as above.
Running Rattle through an X2Go Desktop
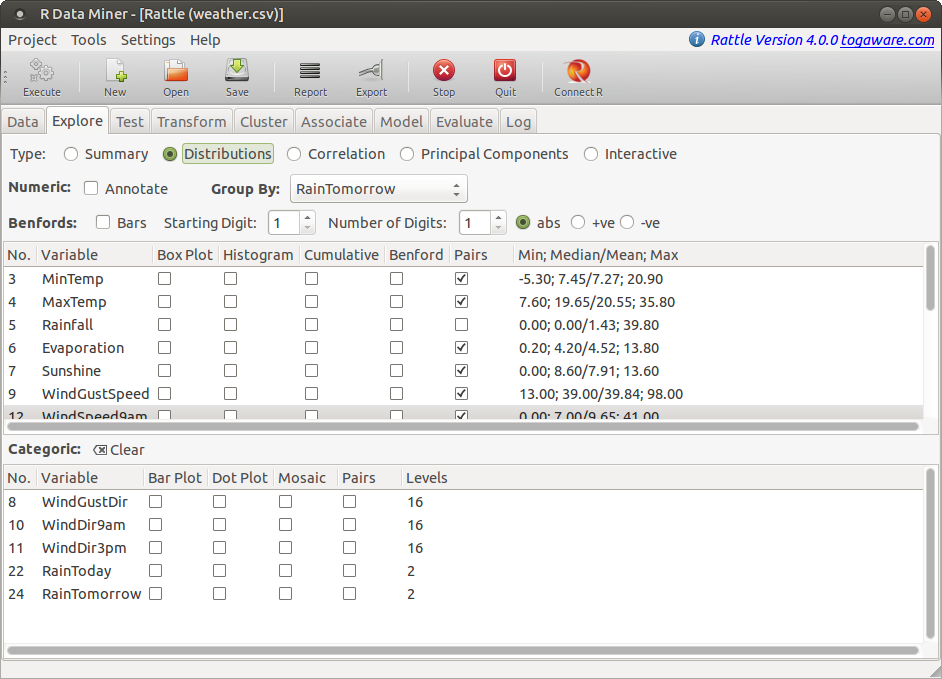
If you followed my DSVM deployment guide then you will have also set up X2Go on your local computer to support a desktop connection across to the DSVM. This is very convenient in terms of running desktop apparitions, like Rattle, on the DSVM. Every student in the class gets the same environment.
Shortcuts to the Services
The URLs are rather long and so we can set up either bit.ly or aka.ms shortcuts. Visiting the latter we set up two short URLs:
https://aka.ms/xyz_hub as https://dsvmxyz01.southeastasia.cloudapp.azure.com:8000
http://aka.ms/xyz_rstudio as http://dsvmxyz01.southeastasia.cloudapp.azure.com:878
We can now use the short URLs to refer to the long URLs.
REMEMBER: Deploy-Compute-Destroy for a cost effective hardware platform for Data Science. Deallocate (Stop) your server when it is not required.
Graham @ Microsoft

